Monday, July 22, 2013

{Baby} 12 weeks!!!


And so begins the profile pictures which will show the growth of the baby belly! I figured it was about time, now that we finally reached the last bit of the first trimester. Whew, it feels like I've been waiting forever for this moment, even though I know it is nothing in the grand scheme of things. I'm sure the rest of the pregnancy will fly by and then the baby will be here before we know it, but I've been so looking forward to getting past the nausea and (hopefully) starting to look pregnant, not just feeling pudgy. I'm really ready for that cute bump to just "pop" on my tummy and for the moment when I can actually feel the little munchkin inside me!

As you can see, I still am experiencing all the typical first trimester symptoms, which I'm pretty much grown accustomed to now after so many weeks living with them. What has been nice is that I've gotten some more of my energy back and actually was able to start going to the gym a couple weeks ago, and Michael and I are also starting to take evening bike rides around our neighborhood (don't worry, I'm not at the "off balance" stage yet, and we're being extra careful until then too). It's been nice to be able to feel like I can get back out of the house more and to just get moving. I've missed exercising, although I'm still having to take it easy because my stamina waned over the past several weeks without much movement!

All in all, we're doing well and just trying to stay cool and active in this hot desert Summer weather. Yay for that! At least I have Otter Pops to help me out in that respect!

Sunday, July 14, 2013

Little Beginnings

 I thought I'd take the time to share some of the fun facts surrounding our finding out we were pregnant and a few other details from the beginning of this journey.

We found out we were pregnant on May 28, 2013. And if you remember the significance of that date, it just happens to be our anniversary...our 4-year anniversary! We had just started trying in May and I was pretty sure I was pregnant, but wanted to wait until our anniversary to find out. What a happy little reveal for us to find out on an already special day for our family. We found out our family was going to grow!

This is one of the ultrasound pictures from our 10 week appointment, the first appointment where we were able to see our baby and hear the sweet (and appropriately fast) heartbeat. It was wonderful to hear that for the first time and even though Michael and I had been joking about the "alien baby" he had infected me with (as the sickness has sometimes felt that way, lol), we definitely could tell that it was a very tiny human inside me! Although, once I heard the heartbeat, I did say, "It's ALIVE!". Yes, we're weird that way...this baby is going to definitely have a sense of humor of it gets anything from us!

We really like our OB, as she's from Texas, so there is some Southern common ground there, which makes things fun and enjoyable. We talked about gumbo, crawfish, and Cajun food at our appointment (along with many baby-related things too). Apart from that, she is really smart, personable, and informative. She has answered all our questions happily and kindly and I look forward to building a relationship with her as the pregnancy continues on.

All in all, I've been told that I am "super healthy" and everything looks to be perfectly in order with me and the baby, even in these early stages. We shall see how everything grows and develops as time goes on! I'm starting to feel things changing with my body and the sickness is reducing a bit naturally (although, I'm still taking the wonderful prescription for nausea I was given by my OB). Things are wonderful and we're happy!

Tuesday, July 09, 2013

It's a Baby!

We already announced this on facebook, but I want to start blogging more frequently, especially now that there will be many fun updates to come in the future....so, it's official! We're pregnant! 

Little Baby Black is due to arrive on January 31, 2014!

Needless to say, we are very excited and look forward to our lives being changed forever, for the better. :)

Monday, July 01, 2013

Front Yard Before and After


 Time to show you what our front yard looks like and how far it's come since the land of "all grass and nothing else".  I thought I'd give you some pretty flowers to look at first before we delve into the ugliness that once was!


 As you can see, more sod that had to be removed, along with a couple bushes that weren't really doing anything for that little space by the front door, so we transplanted them. You'll see where in a second. 


 These are the front flower beds after the mulch was put in, along with feather reed grasses planted, and a border placed around the beds. The grasses are the same as in the backyard and they're going to look awesome once they grow to their full potential!

 These were the boxwood bushes from the front of the house, transplanted to in front of our shed on the side of the house. As you can see, this area is a little boring and needed some love. 

Plans we have for this side shed area:
  • Scrape off old, peeling paint and repaint
  • Plant some sort of trellis to grow upward and cover/protect the shed from the hot afternoon sun (roses?)
Front Flower Beds


 Now you can see what they look like since flowers have been planted. I mixed some perennials with annuals and they've already grown a lot compared to this picture (which was taken over a month ago). The grasses have really grown tall and are seeding right now. It's starting to look really great!

Plans for Front Flower Beds:
  • See how the annuals fair and how the perennials grow, most likely plant even more perennials next year for less upkeep
  • Remove window covers and replace with the metal grate type
  • More mulch for the little corner spot by the front door

 Pretty flowers once again. Enjoy!

View from the Street

You can see, we moved the mailbox over to make room for the tree now planted in the park strip. Apparently that was the original location for the mailbox, but the old lady who lived here before us kept running it over, so the neighbors helped her to relocate it. We moved it back as I don't believe we'll risk hitting it as often as she once did! ;)

Anyway, the tree was transplanted from Mike's parent's house because it just did not fair well there, so we wanted to see if our sandy soil would be a better fit than their clay soil. It's doing wonderfully, so we're going to buy one more tree like it and plant it to the right, also in the park strip!

Plans for the View from the Street:
  • Purchase and plant 1 more Eastern Redbud tree in the park strip
  • Rework some of the sprinkler heads and such so we can plant a nice big shade tree (sycamore/london plane) in the front yard (our house faces full west so it gets a beating in the afternoon/evenings)
  • Mulch for the trees
  • Eventually expand the flower beds to wrap around the sidewalk
  • Window boxes
  • Shutters

 Front Porch
Yeah, this area needs some love. The planters and flowers have helped, but I've got big dreams for this front porch, such as:
  •  New front door to go with the shutters we'll eventually do in the front (maybe paint the door an accent color before we can buy a new one?!?)
  • Make a cute house number sign to go underneath the light fixture
  • Update the light fixture, along with all the others on the outside of the house, so they match and look nice and fit our "style"
As you can see, more BIG plans for our home. We've got our hands full, that's for sure! But, we're loving being homeowners and enjoying this journey! What do you think? Any other fun ideas now that you see what we have before us and the potential for the space?

Saturday, June 01, 2013

Backyard Dreams and Updates

Welcome the world of what our backyard used to look like and what it looks like now. I'll give you a little step-by-step tour and explain what we've been working on the past few weeks!


First off, the Vegetable Garden!

These two pictures are along our back fenceline and all that used to be there was grass. We did some tilling, and dug up LOTS of sod, so that we could put a vegetable garden in!


This is what it looked like after all the digging was done and we put mulch in the beds. That metal jungle gym thing is now gone, thank goodness!


This is the veggie garden now, with manure mixed in, covered in some weekly grass clippings, and the hose for the dripline put in. (Notice the lines where we dug for sprinklers nearby...that's another story!) We've planted cucumbers, eggplant, watermelon, pumpkin, butternut squash, 5 kinds of tomatoes (cherry, heirlooms, and roma), 5 peppers (sweet and hot), and 3 types of onions (red, white, yellow). It's going to be a bounteous harvest!

Still to do in the Vegetable Garden:
  • Edge out the garden with something like railroad ties, or cement border
  • Finish putting the drip heads together for the dripline (happening today!!!)
  • Wait for the plants to grow
  • Plant some lettuce in the fall
  • Plant berry bushes (blackberry and raspberry)
  • Plant a couple fruit trees (peach?!?)
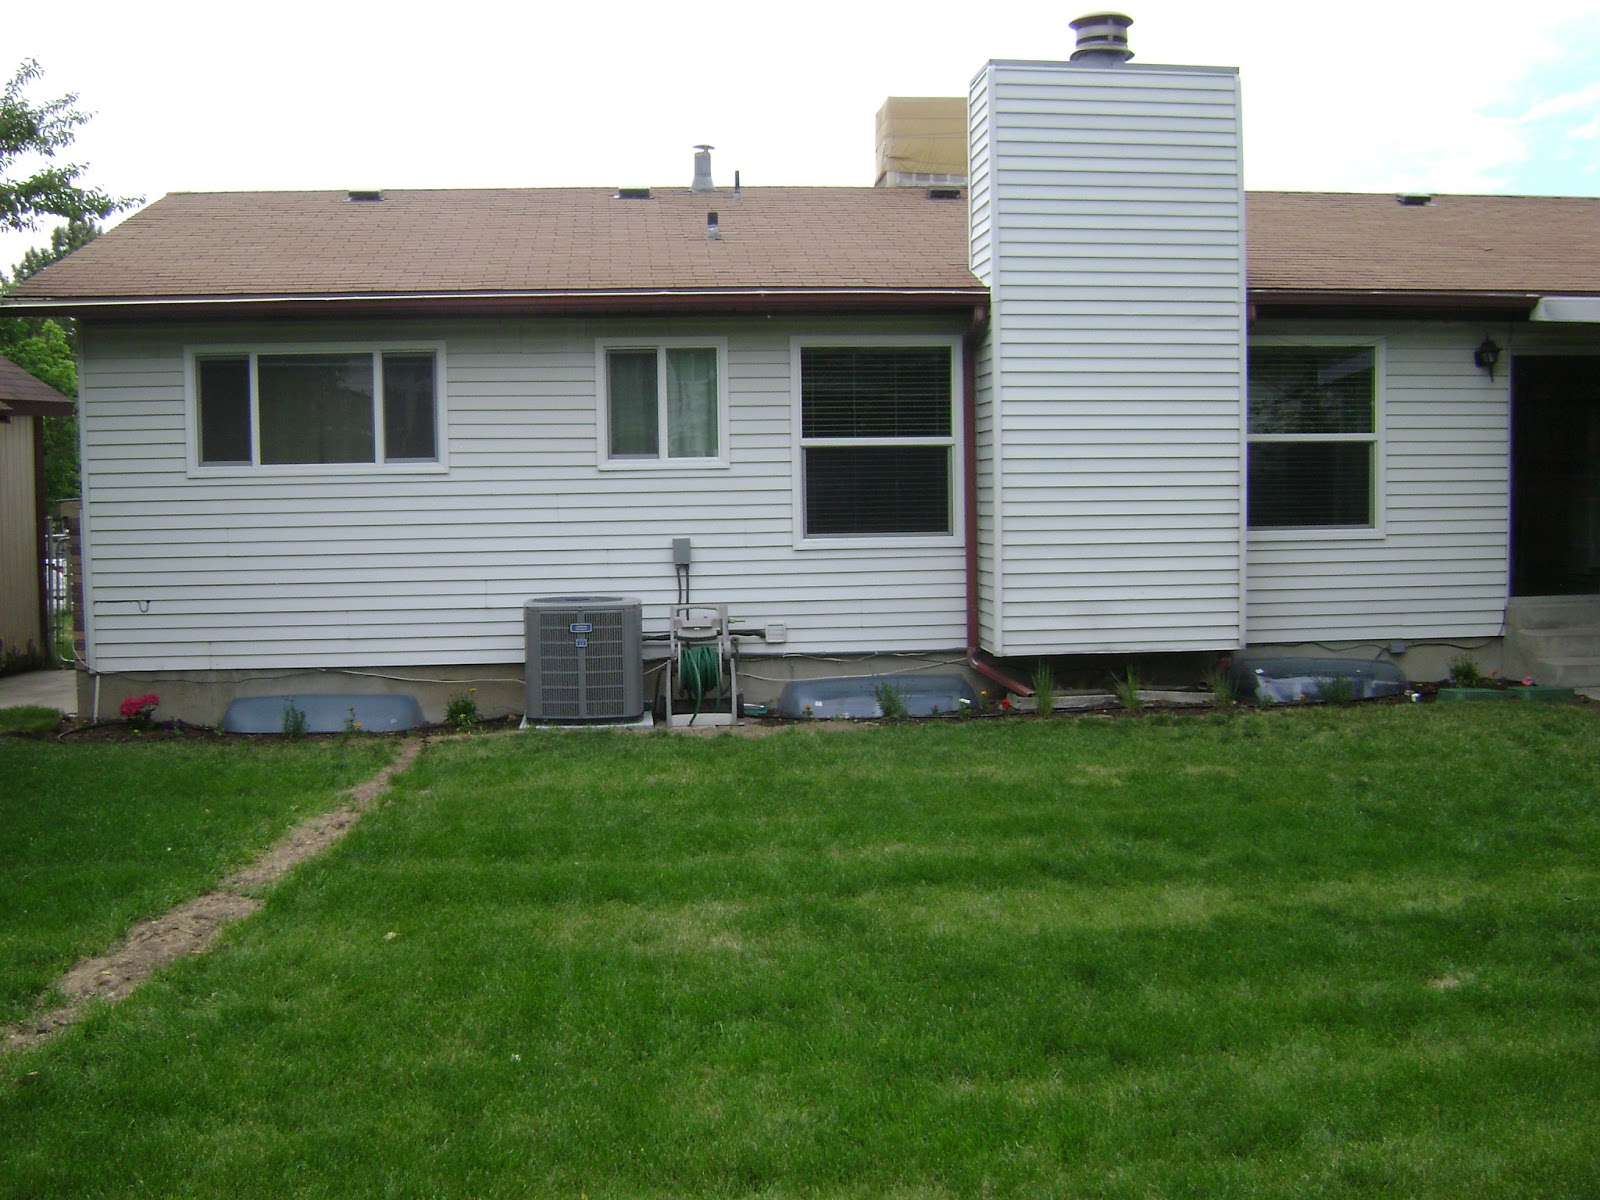
Back Flower Bed

Once again, everything used to be ALL grass. (Seeing a pattern here?) So, we dug out that sod and put in a flower bed at the back of the house, to give some interest to an otherwise "hum-drum" area.

Here is what it looks like now with mulch and compost in, (once again, notice the covered trench from the new sprinkler line) and an assortment of perennial flowers, some feather reed grasses, and annual flowers. Oh, and a hydrangea bush. I'm so excited about that. Anybody who knows me knows that hydrangeas are my favorite flower, I had them at my wedding, and now I'm happy to actually be able to grow them in my very own yard!


You can see the dripline is in, along with the new manifolds for the sprinkler system. 

Still to do in the Back Flower Bed:
  • Put heads on the dripline
  • Expand the flower bed about 6 inches into the yard
  • Hide the wires hanging down from the siding (they are everywhere!)
  • Bury the pipes for the gutters into the yard
  • Watch the flowers and grasses grow (the grasses will get as tall as 4 1/2 feet)
  • Build a cover for the AC unit that looks something like this:


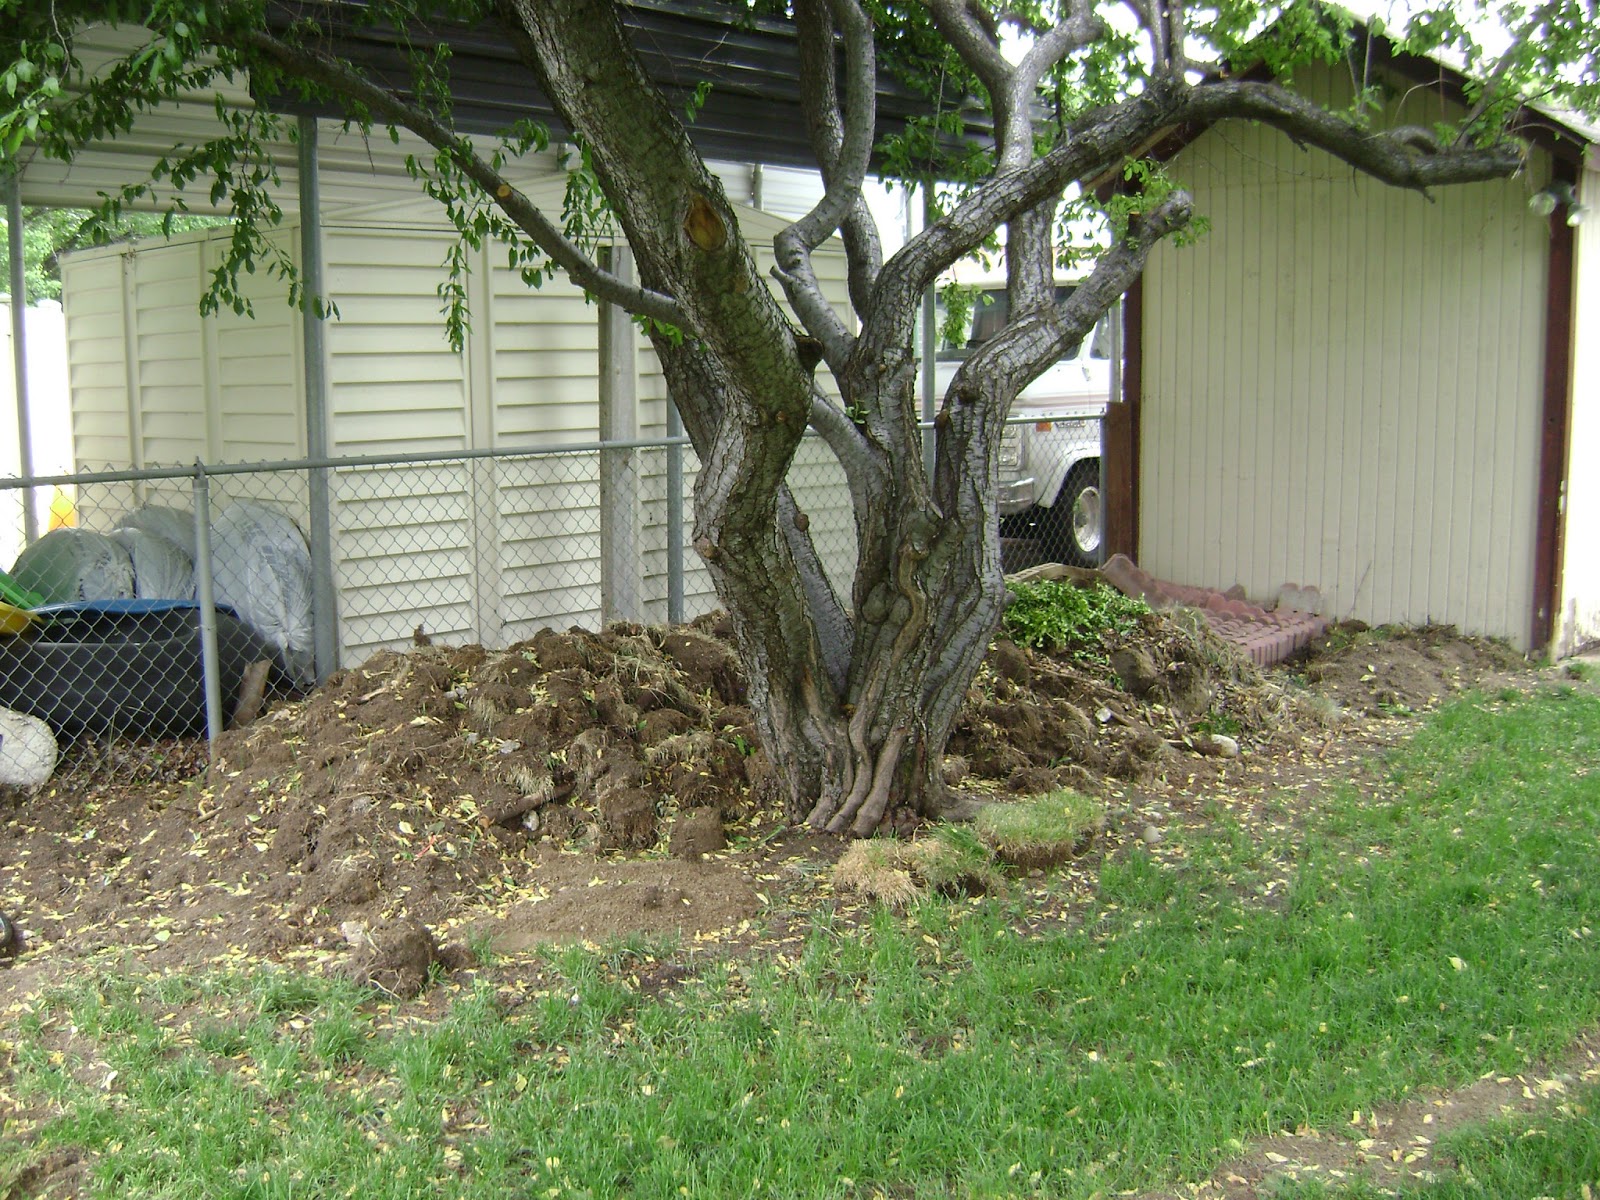
Area by the Back of the Shed
We have trimmed this tree a couple times already as it desperately needed it. The poor thing, I'm pretty sure, had never been pruned in it's life. The area underneath it became our dumping ground for sod when we were digging up the garden/flower beds because grass didn't grow under there anyway.

Things to do:
  • Remove the rest of the sod and leftover pavers (you can see them on the right)
  • Mulch the area and edge it to make a nice large bed around the tree
  • Fill with shade-loving plants and flowers
  • Prune the tree again in the fall

Miscellaneous Backyard
Here are my herbs on the back patio in nice big pots. They are thriving this year! I've got basil, parsley, dill, cilantro, oregano, thyme, rosemary, and peppermint.

Another tree in our backyard that had never been pruned. You can see the large part of the trunk that had fallen over the fence a few years back, which we cut down in the fall. Our backyard neighbors were so grateful. They said that they had offered to do the same when the trunk fell, but the sweet old lady asked them not to, because she was afraid the tree would get hurt. Haha. Little did she know it was better for the tree in the long run! Michael put his little hammock chair on the tree so he could sit there, with his laptop, on Fridays when he works from home and enjoy the weather while working.

Miscellaneous Backyard things left to do:
  • Finish cutting down the stump on the tree above
  • Prune random branches in the fall
  • Pressure wash the back of the house 
  • Put up a new vinyl fence (this would be my dream in maybe in a couple of years)
  • New sconces by the back door and garage
  • Grass seed for the recovering trenches from sprinkler redo

As you can see, we've been busy and still have lots more to work on this summer. We're already pretty tired from all the yard work, but we're loving it, seeing everything change for the better. Our neighbors have all complimented us on how much we've gotten done this early on in the summer. I just can't wait until the veggies come in and we can reap the fruits of our labors there! Post about the front of the house to come..... :)

Wednesday, May 29, 2013

DIY: Curtains from a Bedsheet

 The little half bath that we have off our master bedroom, which turns out to be "my" bathroom to get ready in each morning, was in desperate need of some curtains as the window faces full east and I get blinded every morning with all the sunshine coming in while I'm getting ready at the mirror. I've been looking for some curtains to put up that were light and would still let the sunshine in, but in a muted sense. Curtains are always SO expensive, so when I was at IKEA the other day, I found a flat bedsheet reduced at a seriously cheap price in their "AS-IS" section and knew I could make some curtains out of it.

 We'll eventually get some frames built around the windows in the house, but for now, the foam is exposed from the new windows being put in and us having to remove some ugly tile on the bottom lip of each window.


 It's hard to get a good angle in the bathroom because it so SO small with only a toilet and sink in there, so I had to improvise a bit and use the mirror for a picture. Also, the lighting is not the best with me taking a picture of the only natural light source in the bathroom. But, you get the idea. :)

 I really like the stripes that are a bit of a light yellow/tan color. They are delicately pretty and let the light in quite nicely, sans blinding. 

All I have left to do is make some little tiebacks with the leftover fabric, so I can pull the drapes to the side when wanted. Really easy (and cheap) project though, and I had fun pulling my sewing machine out after a bit of a hiatus.

Thursday, April 25, 2013

Little Wooden Chair

This happy little wooden chair has been in my possession for too many years for me to feel comfortable to mention, because I've put off its makeover for that long. It's embarrassing! It was purchased at an estate sale quite a while back and now that I have a home to proudly display it in, I figured it was time to give it a spruce!

A little spray paint here, some foam padding there, and a cheery and colorful fabric and this chair looks as good as new. Although, don't look too closely, there are some imperfections I couldn't perfectly work out because I'm not an expert at upholstery, but I did my best. And it really turned out to be a cute little chair after everything is said and done. I've always loved sitting in it, because the arms are the perfect height for comfort. And now, with a 2 inch thick foam padding, it cushions the bum quite well, making a perfect little sitting chair for the corner of a room!


 A little closeup of the fabric. Me likey. 

To give a view of what it once was and what it is now. I love before and afters...they make me just giddy. Now, all I have to do is find some accessories to decorate our office with, which will help to bring everything together. This little wooden chair is the perfect inspiration!